A dual battery system is an essential upgrade for off-roaders who rely heavily on electrical accessories such as winches, lights, and onboard air systems. These systems require more power than a standard vehicle battery can typically handle, especially during extended off-road adventures where a consistent energy supply is crucial.
Table of contents
Why a Dual Battery System?
We are going to go over 4 reasons why a dual-battery system is so important in your off-road rigs. We will also explain how to install a dual-battery system and the parts to do it safely. So you can hit the trails without having to worry about not having the power you need when you need it.
Winches:
A winch can draw a significant amount of power when rescuing a vehicle from difficult terrain. A dual battery system ensures you have a dedicated battery for the winch, preventing your primary battery from draining.
Lights:
Off-roading often takes place in low-light conditions. Extra LED light bars, KC lights, and other auxiliary lights can quickly drain a single battery. Especially if you are sitting steel for a long period of time. A second battery allows these lights to operate independently of your main power system.
Onboard Air Systems:
Air compressors for inflating tires, operating air lockers, or even some air tools can consume a lot of energy. A secondary battery ensures that these systems work reliably, without worrying about the primary battery having too much of a drain on it.
Other Accessories:
Refrigerators, navigation systems, and charging stations for devices are common in overland vehicles. With a dual-battery system, you can power these conveniences without risking the functionality of your primary battery
Benefits of a Dual Battery System
Now that we have gone over 4 of the reasons to have a dual-battery system on your off-road vehicle. Let’s dive into some of the benefits of this type of system.
- Peace of Mind: You won’t have to worry about a dead battery in remote areas. One battery is dedicated to starting the vehicle, while the other powers accessories.
- Extended Power Supply: The secondary battery ensures that you can run all your devices for extended periods without draining your primary battery.
- Automatic Management: Modern dual battery systems often include a battery management system that automatically charges and switches between batteries, maximizing efficiency and convenience.
Key Considerations
When installing a dual-battery system, make sure to select a battery with deep-cycle capabilities for running accessories. These can be purchased at any auto part store or RV and Merine store in your area. Also, investing in a high-quality isolator or battery management system will ensure the smooth operation of both batteries.
A dual-battery system isn’t just a luxury; it’s a necessity for serious off-roaders who demand reliability and power for all their adventures.
Setting up a dual battery system for your off-road vehicle is a straightforward yet critical task that requires the right components and careful planning. Below is a step-by-step guide on how to hook up a second battery, along with details on the parts, wiring, connectors, and mounting options to ensure a safe and efficient installation.
Parts Needed
Let’s get into the parts that will be needed to do the job. Having a list will help you make sure you have everything you need to do the job right and without a lot of trips to the store. If you are like me and live in a rural area, going to the store can take up a lot of time that can be used to do the job.
1. Deep Cycle Battery: A deep-cycle battery is recommended for running accessories like winches, lights, and onboard air systems. These batteries are designed to discharge deeply and recharge without damage, unlike starter batteries.
Note: There are a veriaty of shapes and sizes, so find the location where you would like you the battery. Then get the battery that will fit. This could save a lot of time and money.
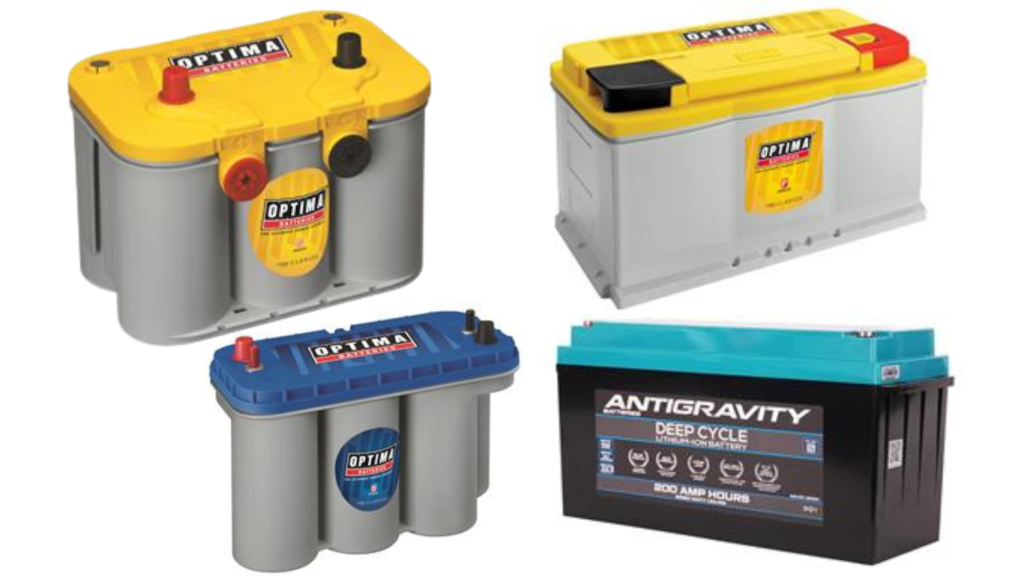
Deep Cycle battery
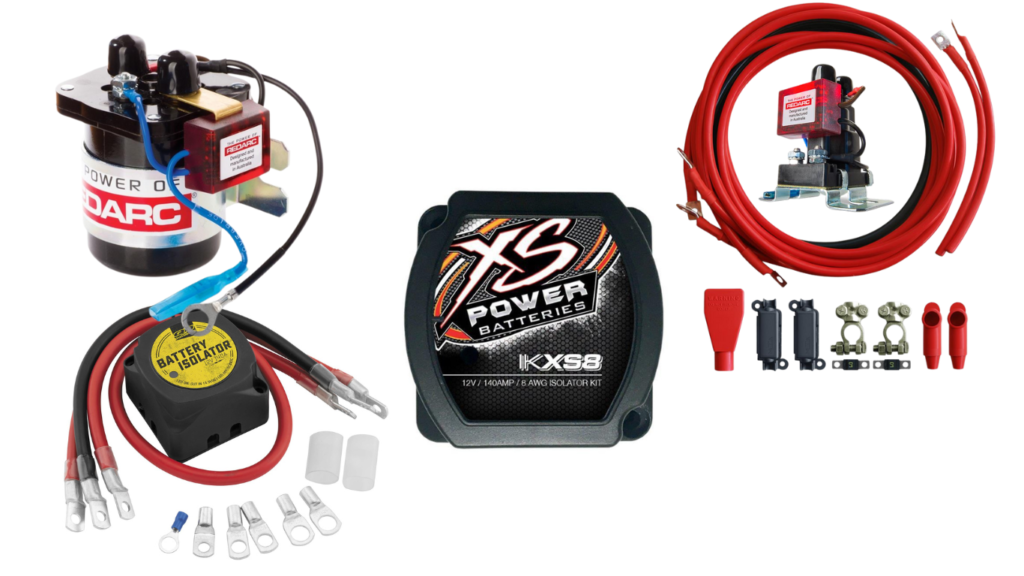
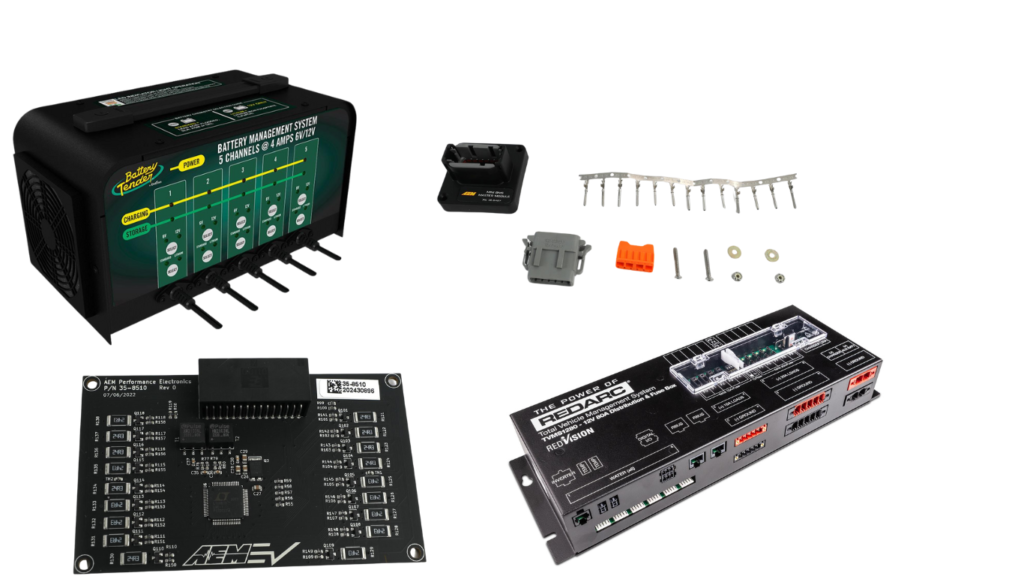
2. Battery Isolator or Battery Management System (BMS): This device ensures that the primary and secondary batteries are isolated from each other, preventing one from draining the other. A BMS will automatically switch between batteries when needed.
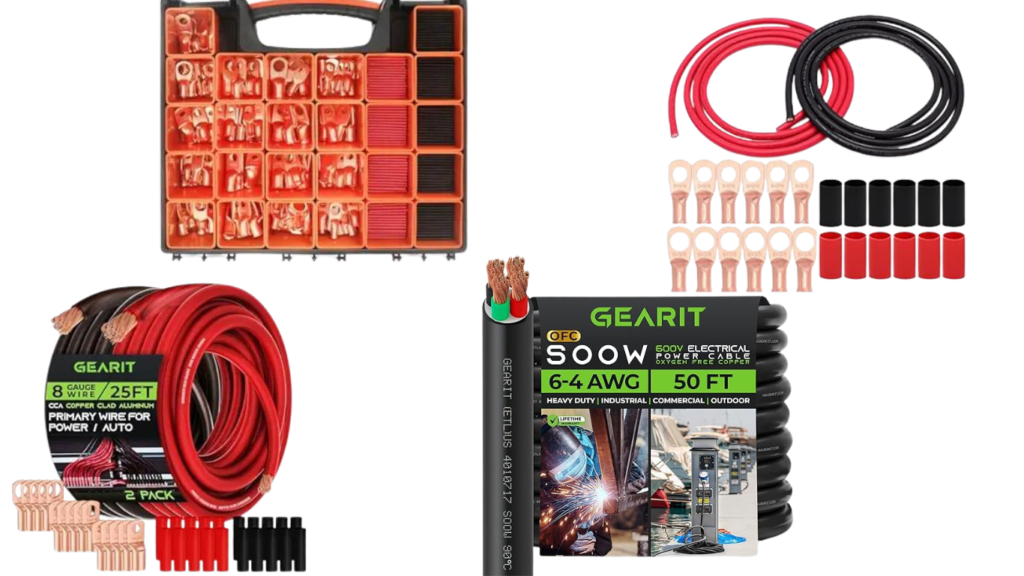
3. Heavy-Duty Wire: You’ll need “2 AWG or 4 AWG” wire for high-current accessories like winches and compressors. For lower-current applications like lighting or fridges, 6 AWG or 8 AWG wire can be used. Using the right gauge wire for the accessories is important for getting the energy out of your battery system.
Note: The smaller the number the bigger the wire.
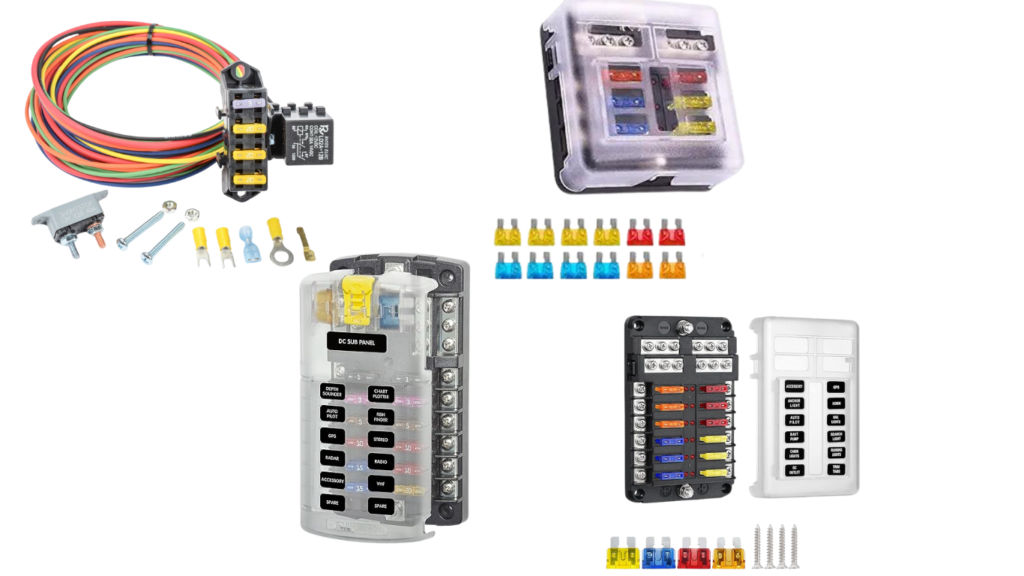
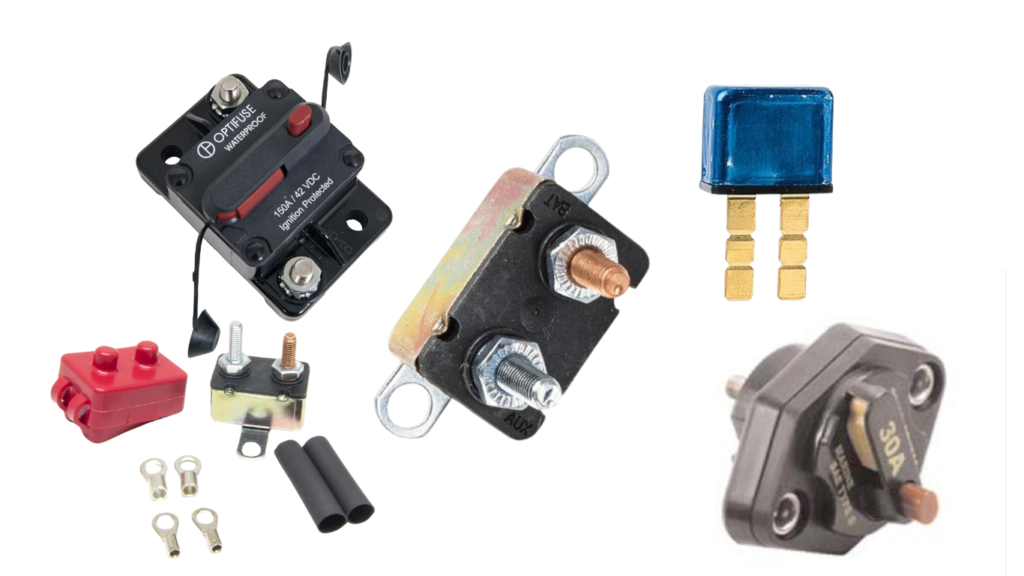
4. Fuse Box or Circuit Breaker: Install a fuse box or circuit breaker near the second battery to protect the electrical components. The fuse rating should be matched to the accessory’s requirements (e.g., 150A for winches, 30A for lighting).
Note: Some fuses baxes will come with wire, so you want to make sure the wire AWG matches your accessories.
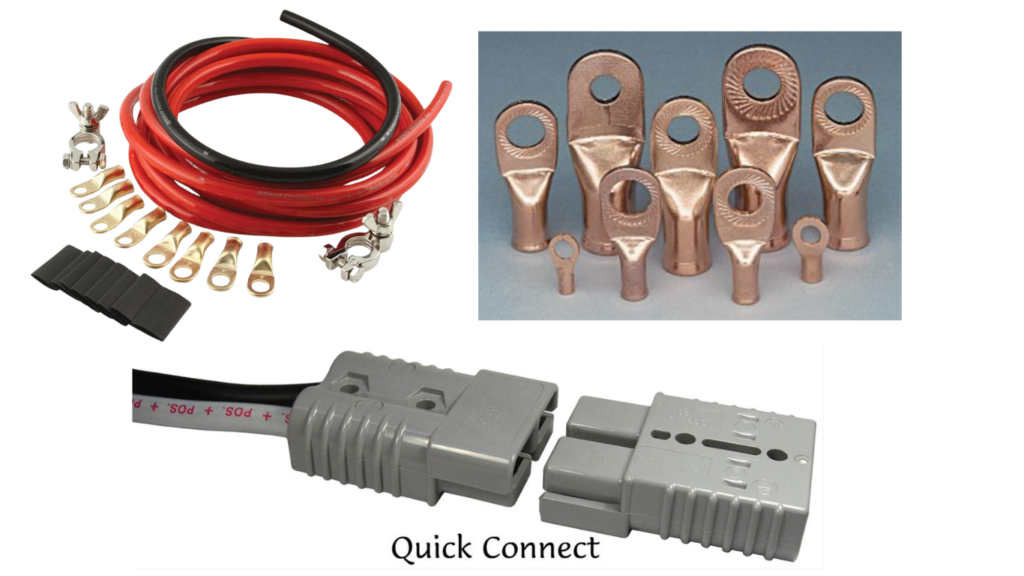
5. Battery Terminals and Lug: Use “high-quality crimp-on battery terminals” and “lugs” to securely connect the wiring to the batteries. Make sure the connectors are rated for the wire gauge you’re using
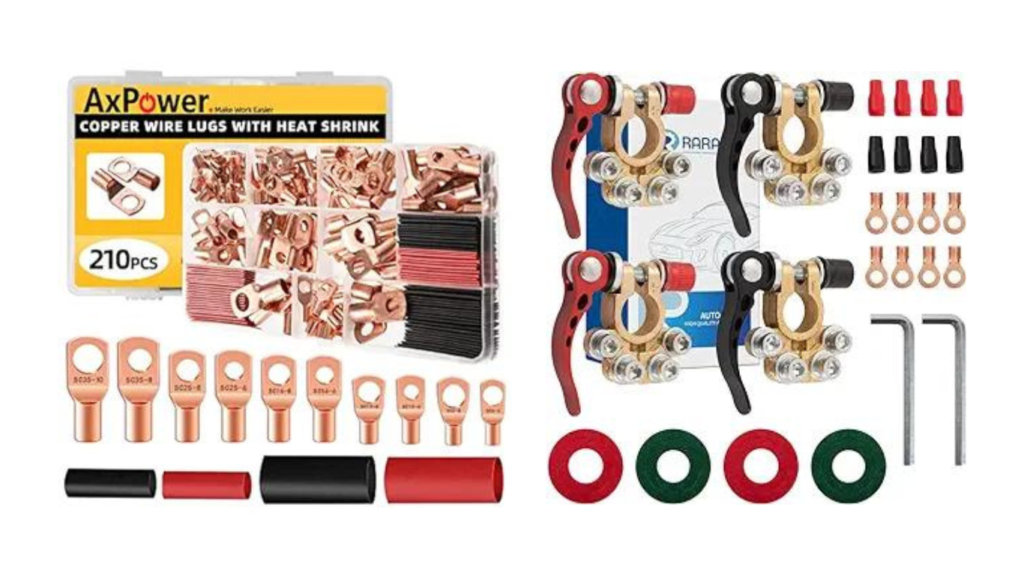
Battery Terminals and Lug
6. Mounting Tray or Box: Use a “universal battery tray” or “battery box” to mount the second battery securely in your vehicle. Look for trays made from “steel” or “reinforced plastic” that can handle the vibrations and impacts of off-roading.
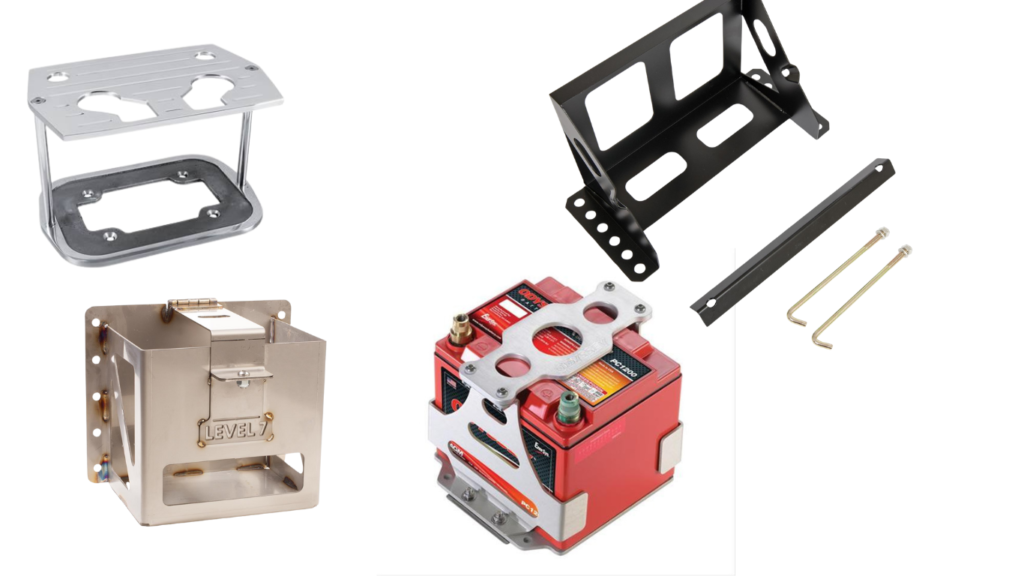
Mounting Tray and Boxes
7. Battery Tie-Down Straps: Secure the battery using heavy-duty tie-down straps to prevent it from moving during rough terrain. Ensure the battery is snug but not overtightened. The last thing you want is for your battery to come loose in the compartment it is in and short out on something.
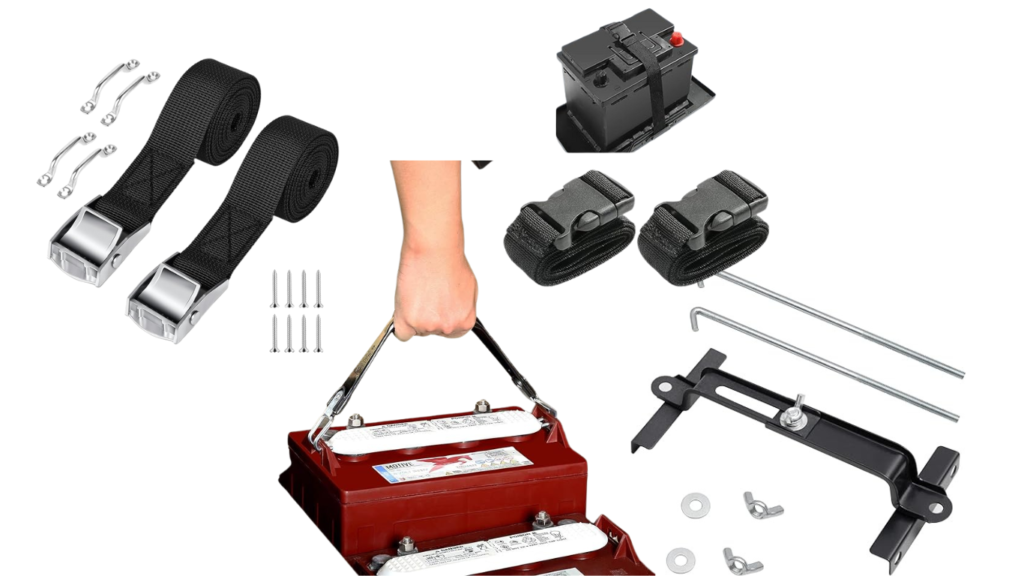
Battery Tie-Down Straps
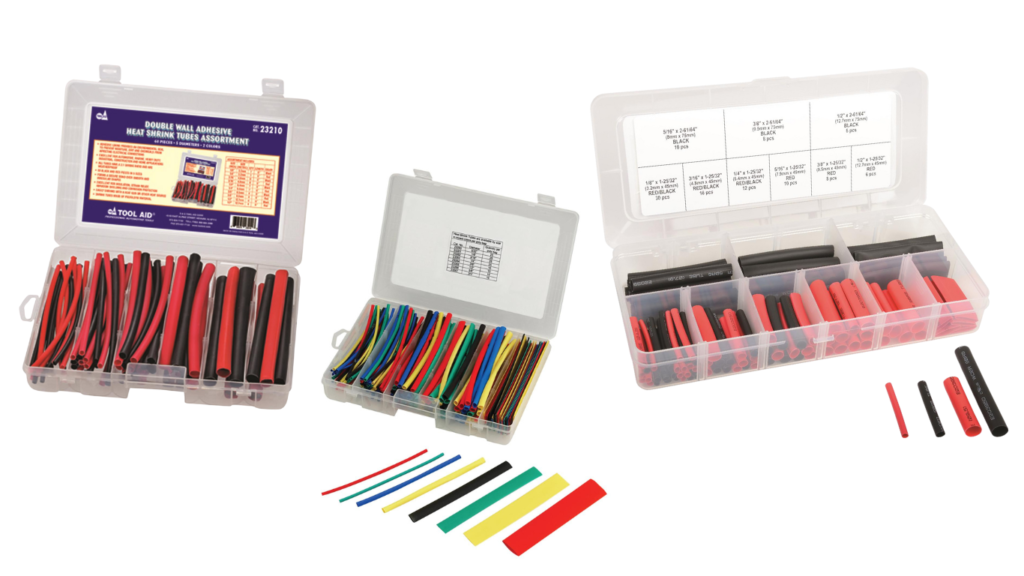
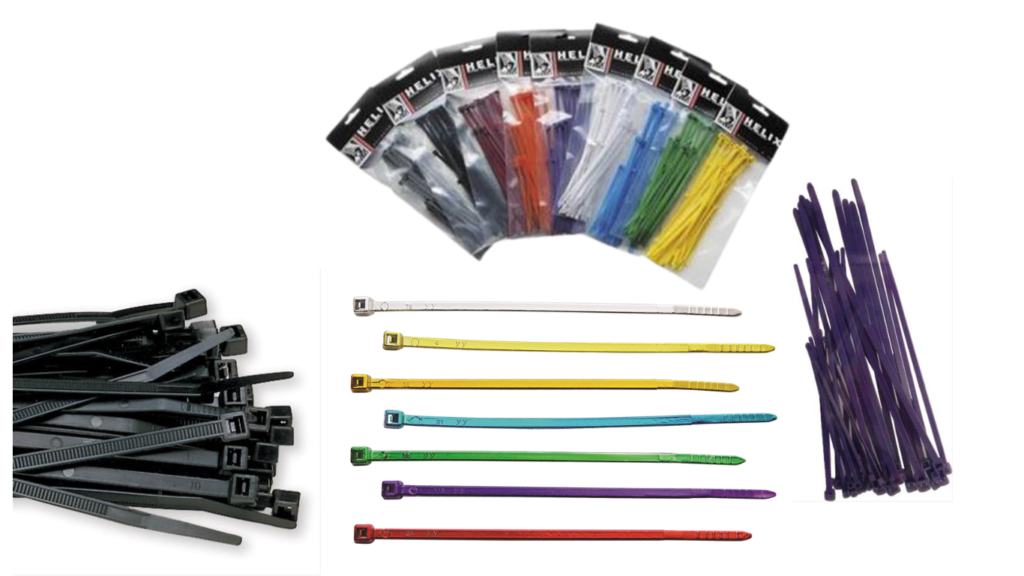
8. Heat Shrink Tubing and Cable Ties: Use heat shrink tubing for sealing exposed wire connections. This can also help waterproof the wire in case you have to submerge your vehicle and get the wires wet. You will also want to get some “cable ties” to keep the wiring neat and organized.
Steps to Install the Second Battery System
Let’s get into the nitty-gritty and start installing the second battery.
1. You want to choose a Location for the Second Battery:
Engine Bay: If space permits, mount the second battery in the engine bay. Ensure it’s away from heat sources like the exhaust manifold. You will also want to make sure the tuminals are not going to touch any metal when you close the hood if you mount it on a fenderwell.
Cargo Area: If you don’t have space in the engine bay, you can install the battery in the cargo area, using a sealed battery box to prevent fumes and leaks. This could be a good idea for the newer SUV’s because they tend to not have much room under the hood.
Truck Beds: The bed of a truck can offer a great place to mount a secund battery. Usinig a battery box will keep the battery safe from other cago and gear. It will also keep it secure.
2. You Need to Mount the Battery:
Install a “battery tray” or “battery box.” If you’re mounting it in the engine bay, ensure it’s on a stable, flat surface. In the cargo area, bolt the tray securely to the vehicle’s frame.
Place the battery in the tray and secure it using “battery tie-down straps.” Make sure the battery is firmly in place but not overly tightened to avoid damaging the casing.
3. You Want To Install the Battery Isolator or BMS:
Mount the ”battery isolator” close to the second battery but away from heat and water exposure. If you’re using a BMS, follow the manufacturer’s instructions for placement and installation.
Run a heavy-duty ”positive cable (2 AWG or 4 AWG)” from the primary battery’s positive terminal to the input of the isolator/BMS.
Connect the “output of the isolator” to the positive terminal of the second battery.
Ensure the isolator allows the alternator to charge both batteries when the engine is running but prevents one battery from draining the other when the engine is off.
4. Hooking up the Accesseries:
Run your accessory wires (winches, lights, compressors) from the “fuse box” connected to the second battery. Each accessory should have its own fuse to protect against overcurrent.
Use ”heavy-duty lugs” to connect the accessories to the fuse box and battery terminals.
For high-power accessories like winches, use “2 AWG” or “4 AWG” wire to handle the current load safely. For lights or smaller accessories, “6 AWG” or “8 AWG” wire will suffice.
5. Grounding the System:
Ensure the second battery is properly grounded to the vehicle’s chassis. Use 2 AWG or 4 AWG wire to connect the negative terminal of the second battery to a bare metal point on the vehicle frame.
It’s essential that the ground connection is solid and free from paint, dirt, or rust for proper electrical flow.
6. Connecting the Primary Battery:
Connect a 2 AWG or 4 AWG wire from the positive terminal of the primary battery to the input side of the isolator.
Ensure the connections are tight and use heat-shrink tubing on all exposed wires to protect against corrosion and water damage.
7. Testing the System:
After everything is installed, test the system by starting the vehicle. Both batteries should charge when the engine is running.
Check each accessory (lights, winch, compressor) to ensure they are drawing power from the second battery and not the primary battery.
Use a voltmeter to verify that the isolator is working correctly and that both batteries maintain the proper charge.
Safety Tips
- Always disconnect the negative terminal of the primary battery before starting installation.
- Double-check all connections to ensure there are no loose or exposed wires that could short-circuit.
- Use a fuse or circuit breaker close to the battery to protect against overloads.
- Mount the second battery in a location that won’t be exposed to excessive heat or vibrations.
By carefully following these steps and using the proper materials, you can ensure that your dual battery system will safely and effectively power your winch, lights, air systems, and other accessories. This setup will allow you to take on extended off-road adventures without worrying about running out of battery power.