Introduction
Your 2011 Ford F-150 EcoBoost 3.5L is a reliable and powerful truck, but like any vehicle, it requires regular maintenance to keep it running smoothly. One essential aspect of maintenance is servicing the transmission. In this article, we will guide you through the process of servicing your truck’s transmission, highlighting the benefits, tools needed for the job, and the difference between a transmission service and a transmission flush.
These trucks use the Ford’s 6R80 six-speed automatic Transmissions are used in a most of the 1/2 ton trucks and suv’s. They were also in some of the hight performence Mustangs.

Benefits of Transmission Service
Servicing your transmission offers several advantages, including:
1. Prolonged Lifespan: Regular maintenance helps extend the lifespan of your transmission by ensuring it operates at its best.
2. Improved Performance: A well-maintained transmission ensures smooth gear shifts and efficient power delivery, resulting in improved overall performance.
3. Enhanced Fuel Efficiency: A properly serviced transmission can contribute to better fuel economy, saving you money at the pump.
4. Prevents Costly Repairs: Routine servicing can help identify and address potential transmission issues before they become major, saving you from expensive repairs.
5. Peace of Mind: Knowing your transmission is in top condition provides peace of mind, especially when towing or hauling heavy loads.
Tools and Materials Needed
Before you begin, gather the necessary tools and materials:
1. Safety Gear: safety glasses and gloves to protect your eyes and hands.

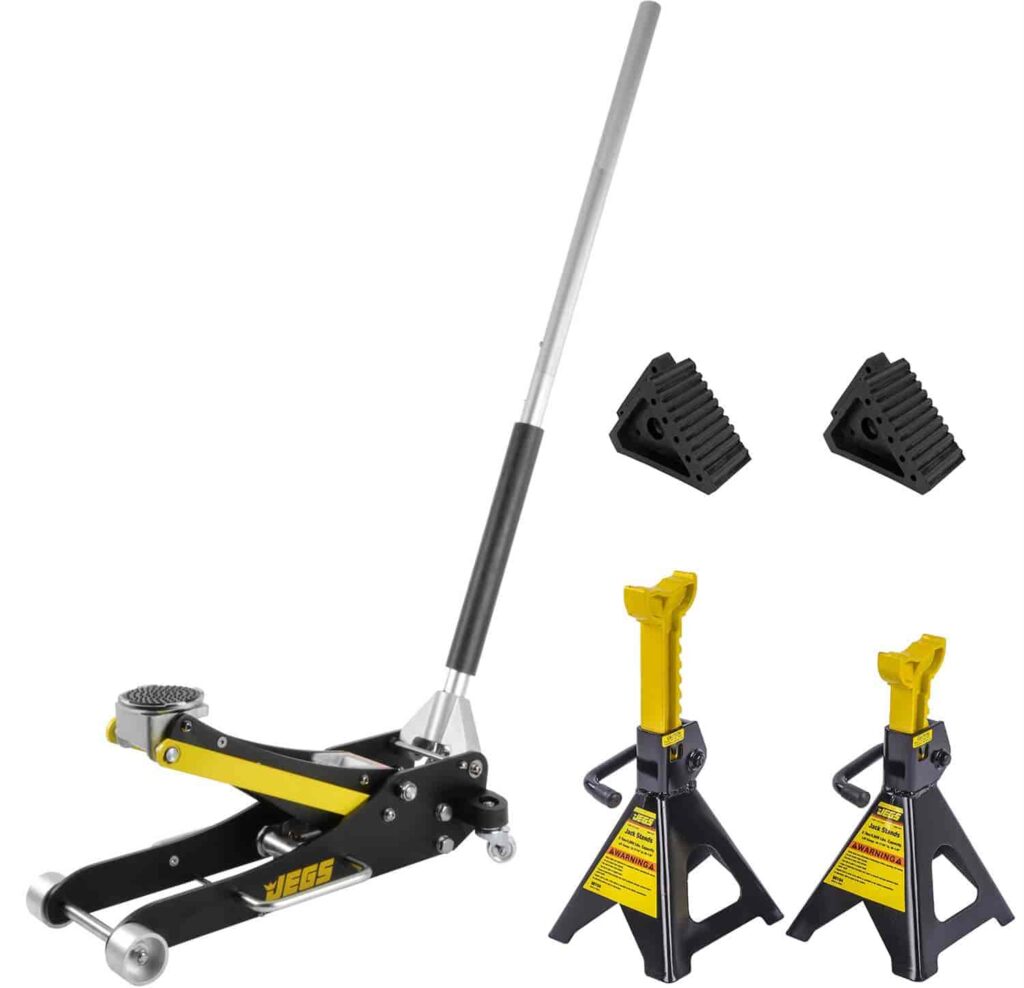
2. Jack and Jack Stands: To raise the vehicle safely and secure it.
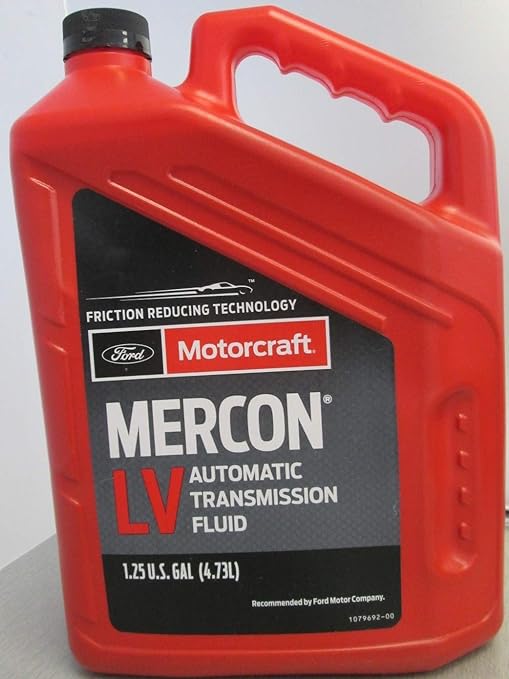
3. Transmission Fluid: Ensure you have the correct type and amount recommended in your owner’s manual.
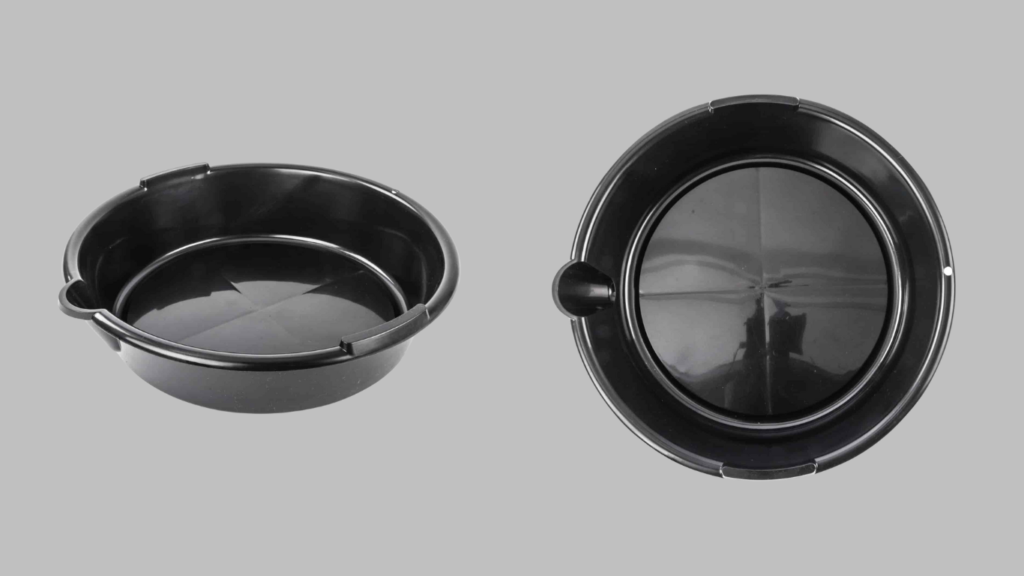
4. Drain Pan: For collecting the old transmission fluid.
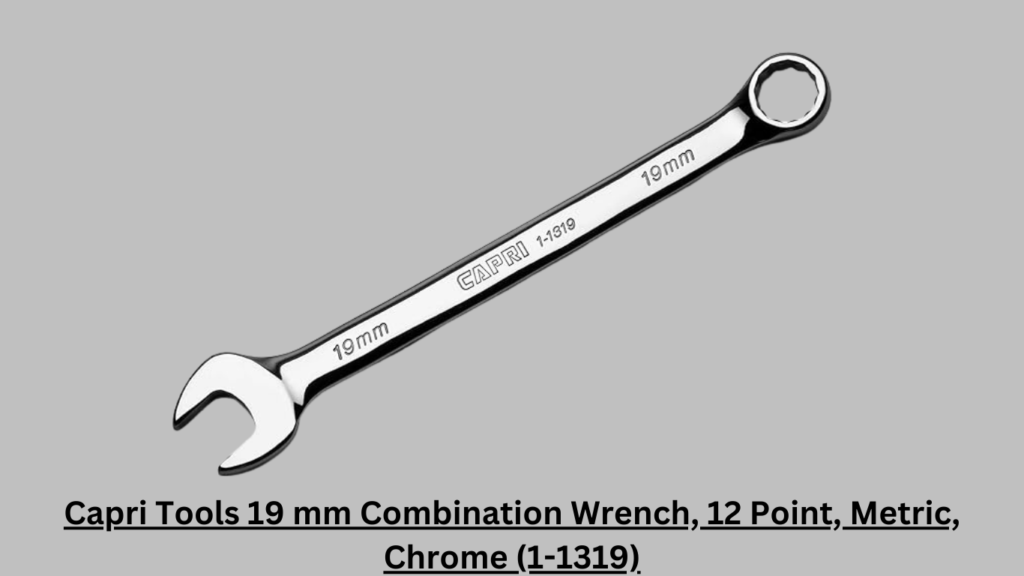
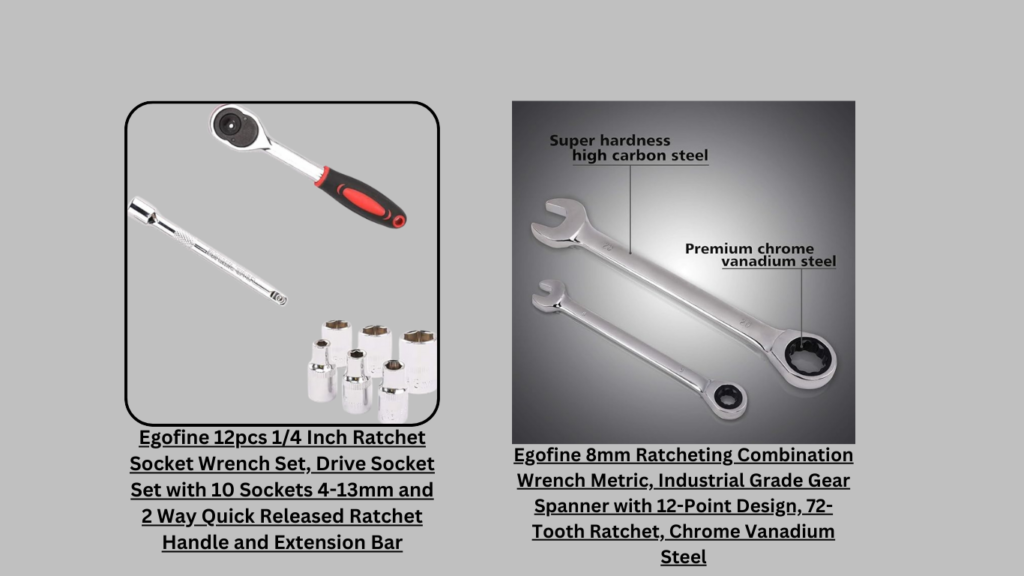
5. 8mm socket for removing the transmission pan bolts. A 19mm wrench to take the dipstick out of the side of the transmission. Unlike most vehicles with automatic transmissions, these do not come with a standard dipstick or dipstick tube.
NOTE: These transmissions are not equipped with your standard dipstick and dipstick tube. The dipstick is located on the front right side (passenger side) of the transmission, in the spot where the dipstick tube should be. You will need to pull the 19mm cap off to get to the 4” dipstick.
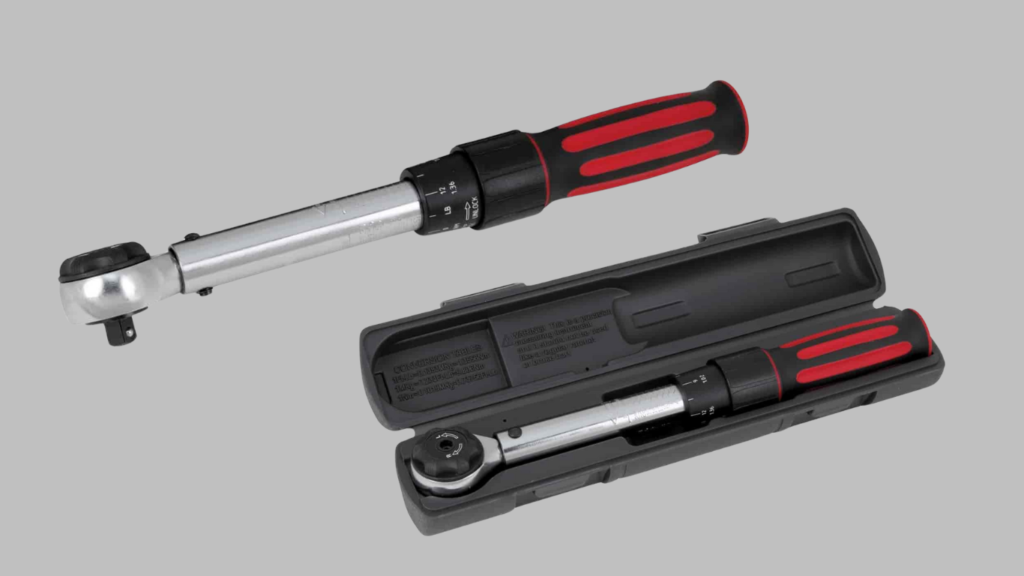
6. Torque wrench: for accurate tightening of bolts.
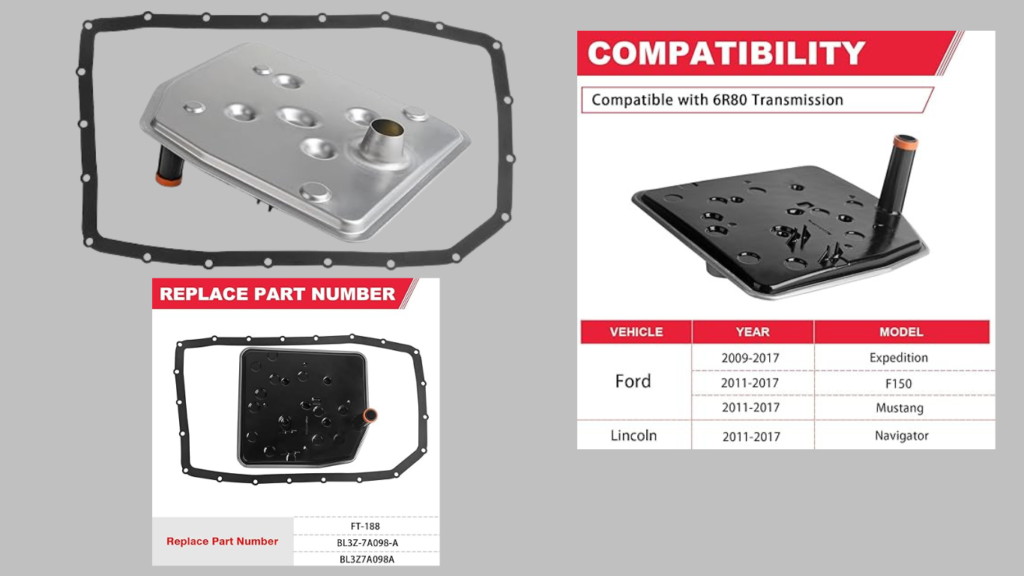
7. Gasket and Filter Kit: A new gasket and filter to replace the old ones. These are equipped with a reusable gasket. So if the filter comes with a rubber gasket, it is my recommendation to reuse the gasket. ( I have never had any luck getting the ruber gaskets to not leak.)
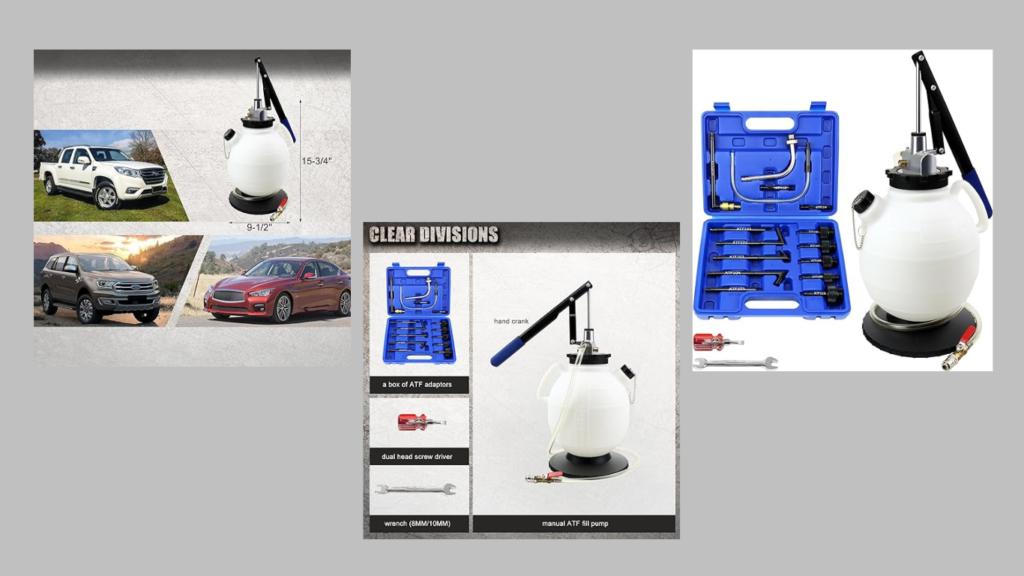
8. Transfur pump: Since there is no dipstick tube, you will need some kind of transfer pump to put the fluid back in.
Steps to Service Your Transmission
1. Safety First:
a. Park your truck on a level surface, engage the parking brake, and/or chock the wheels.
b. Ensure the engine is cool before starting the job. Transmissions run between 160 and 200 degrees Fahrenheit.
2. Lift the truck:
a. Use the jack to lift the front of the vehicle.
b. Secure it with jack stands for safety.
3. Locate the transmission Pan:
a. Your transmission pan is typically located beneath the engine.
b. The exhaust sometimes runs across the back of the pan.
4. Drain the Fluid:
a. Place the drain pan underneath the transmission pan.
b. Remove the bolts securing the panstarting from the back of the pan so the fluid will drain out of the back as you move forward.
NOTE: You will need an 8mm wrench to get the back 4 bolts out; they are tight with the exhaust.
c. Allow the old fluid to drain into the pan.
d. When removing the pan you may have to lower the front of the pan so you can pull the pan around the exhaust.
5. Replace the filter and gasket:
a. Remove the old filter and gasket. (If you are reusing the old gasket, you do not need to remove it.)
b. Install the new filter and gasket according to the manufacturer’s instructions. NOTE: When replacing the filter, make sure the seal from the old filter is not in the transmission.
6. Clean the pan:
a. Clean the transmission pan thoroughly, removing any residue or debris.
7. Reattach the Pan:
a. Carefully reattach the pan, ensuring it’s secure.
b. Tighten the bolts with a torque wrench to the specified torque.
8. Add New Fluid:
a. Use the transfur pump to add the recommended amount of new transmission fluid.
b. Refer to your owner’s manual for the correct type and capacity.
9. Lower the Truck:
a. Carefully lower the front of the vehicle using the jack.
b. Remove the jack stands and lower the truck to the ground.
10. Check the Fluid Level:
a. Start the engine and let it run for a few minutes.
b. Shift through the gears to circulate the new fluid.
c. Check the fluid level and top it up if necessary. ( It is necessary to drive the truck to get the transmission up to operating temperature to get an accurate reading.)
Transmission Service vs. Transmission Flush
It’s important to note the difference between a transmission service and a transmission flush:
1. Transmission Service:
– Involves draining the old fluid, replacing the filter and gasket, and adding new fluid.
– Recommended for regular maintenance and prevents contaminants from accumulating.
2. Transmission Flush:
– Involves using a machine to forcefully flush out old fluid and replace it with new fluid.
– Recommended for addressing severe issues but not typically required for routine maintenance.
Conclusion
Regularly servicing your 2011 Ford F-150 EcoBoost 3.5L transmission is a crucial part of maintaining your vehicle’s overall health and performance. By following this step-by-step guide and understanding the benefits of transmission service, you can keep your truck running smoothly for years to come, while also saving on potential repair costs and enjoying improved fuel efficiency.

